
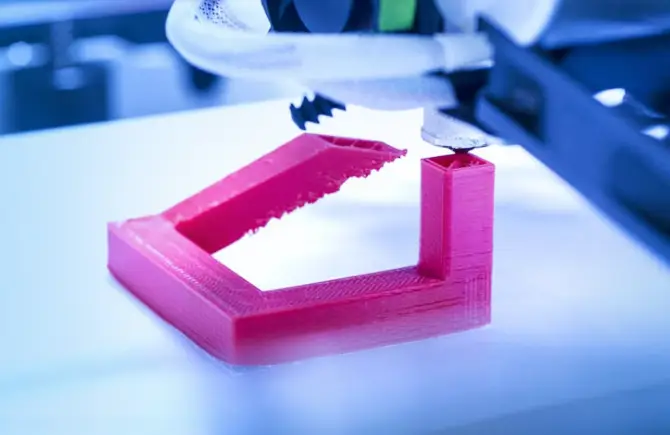

Once a 3D printing build is complete, there are a few steps we can take to improve the cosmetics and performance of the part. Our standard post‑build process includes removing support structures when applicable and then applying a bead blast to remove excess material and achieve a consistent texture. But additional measures can be taken to improve part aesthetics—like adding colour , for example.
At Konlida, our 3D printing services support a range of post‑processing options to enhance both appearance and functionality. If colour is crucial to your design, we recommend focusing on stereolithography (SLA) and selective laser sintering (SLS) . These technologies offer the most flexibility in terms of colours and finishing to improve cosmetics.
Natural Material Colours
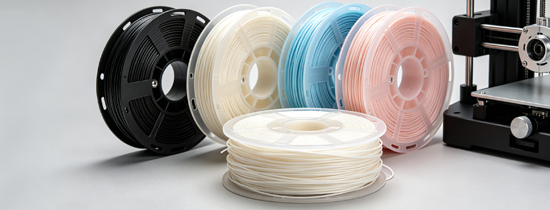
The fastest and most affordable method to selecting part colour is going with the material’s natural colour. If colour is not critical or the material already matches your desired colour, this will help keep your costs down. We can apply some extra finishing to improve surface finish, but no extra processing is required. Available material colours across our processes include: black, white, clear, lime green, sandy natural, and light gray.
For guidance on selecting the right 3D printing material for your application, see our materials comparison guide .
Dyeing
When the natural colour of 3D printing materials will not meet your application’s requirements, we can dye parts to a variety of colours. SLA and SLS parts can be dyed several colours: blue, green, red, yellow, and black. Additional colour options—like orange or purple—can be supported but are not included in our standard offering, so they will be more expensive as they are mixed on a per‑order basis.
As a general guideline, dyeing is a less expensive option to achieve colour parts than painting and will often be sufficient for prototyping. There are a few design considerations to keep in mind when dyeing parts. Designs with especially thin walls or fine features can be damaged or may warp during the dyeing process, so try to avoid any fine features when not necessary.
Note that out of our available 3D printing materials, Nylon PA 650 , available through our SLS process, dyes best since its natural colour is white.
For more on design considerations for 3D printed parts, see our design for manufacturing toolkit .
Painting
The third and final approach to colouring 3D‑printed parts is painting . This will be a more expensive, time‑intensive process compared to dyeing but offers higher‑quality results, with improved cosmetics and more surface finish options. This is ideal for injection moulding prototyping when you are trying to mimic the look and feel of a final part.
We prefer to match the colour with a Pantone number or a supplied sample to ensure you are getting the exact colour you wish for. Painting offers multiple surface finish options like matte, semi‑gloss, glossy, and soft‑touch.
For a deeper look at surface finish options across different manufacturing processes, see our surface finishes for injection moulding and mold texture standards guides.
Summary of Colour Options
| Method | Best For | Key Considerations |
|---|---|---|
| Natural material colour | Rapid prototypes, cost‑sensitive projects | Fastest, most affordable, limited colour range |
| Dyeing | Functional prototypes, SLS parts | More colour options; white nylon (PA 650) dyes best |
| Painting | Presentation models, injection moulding prototypes | Highest quality, Pantone matching, multiple surface finishes |
Need Help with Your 3D Printing Project?
Whether you need a prototype in natural material colour or a fully painted presentation model, our applications engineering team can help you select the right process and finishing options.