

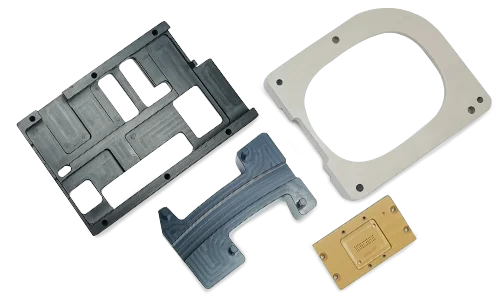

Mold Texture Standards and Finishes
Choose from standard and Mold‑Tech™ finishes for several texturing options to improve the surface finish of plastic moulded parts
Although the surface finish on any plastic injection‑moulded part might be perfectly suitable for its intended application, there is a range of available texturing options that can be applied to certain areas of a mould or even the entire mould.
The reasons for adding mold textures range from enhanced cosmetics to improved ergonomics. These include:
- Finishes produced by bead‑blasting or polishing the mould surface
- Wood or leather‑like graining
- Pebbled surfaces
- Matte, gloss, or hazy finishes, and many others
Such textures can improve parts’ grip, enhance ergonomics, hide parting lines and other cosmetic defects, or simply make the finished parts more aesthetically pleasing.
Need some real‑world examples? An automaker might choose to texture a car’s injection‑moulded dashboard or trim pieces with a faux wood appearance. Developers of hand‑held power tools apply texture to make their products easier to grip. Additionally, paint and stickers adhere more readily to some textured surfaces, while others help make parts more scuff‑ and abrasion‑resistant.
Finish vs. Texture in Injection Moulding
So what are these texturing options, and how can you include them in your part design? The first thing to know is that two distinct paths exist for mould texturing and finishing at Konlida. The first includes the PM (Konlida standard) and SPI (Plastics Industry Association) finishing standards outlined in the chart below. Most are applied by hand via polishing, stoning, or bead‑blasting of the mould surfaces after machining, although EDM might be used in certain circumstances.
Table: Standard Surface Finishes
| Finish Callout | Description |
|---|---|
| PM‑F0 | Konlida texture; non‑cosmetic; finish to Konlida’s discretion |
| PM‑F1 | Konlida texture; low cosmetic; most tool marks are removed |
| PM‑F2 | Konlida texture; non‑cosmetic; EDM permissible |
| SPI‑C1 | 600 grit stone |
| SPI‑B1 | 600 grit paper |
| SPI‑A2 | Grade #2 diamond buff |
| PM‑T1 | Konlida texture; light bead‑blast |
| PM‑T2 | Konlida texture; medium bead‑blast |
SPI‑A2 (Grade #2 diamond buff) produces a shiny, high‑gloss finish on most materials. SPI‑C1 is applied using a 600 grit stone and offers a dull matte finish. Sitting in between is SPI‑B1, made with 600 grit abrasive paper. There are also the various PM‑style finishing options, which produce everything from non‑cosmetic surfaces that may show some tool marks to the lightly textured finishes generated with bead‑blasting.
For more detailed information on each finish type and how they are applied, see our Surface Finishes for Injection Moulding guide.
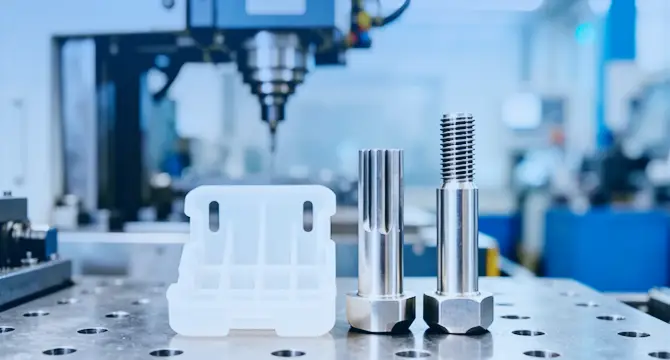
Steps to Success in Mold Texturing
So how is texturing accomplished? Two distinct processes are available, but which one to use depends on the type of finish, its surface depth, and the mould material. Regardless, both are applied after the mould cavities have been completely machined and their soon‑to‑be‑textured surfaces smoothed to the requisite level.
Chemical etching – For light texturing, a corrosive chemical is applied in a controlled manner, etching the mould cavity until the desired depth and appearance are reached. If certain surfaces are not going to be textured, those areas are masked off with protective tape beforehand.
Laser ablation – For more aggressive or geometric textures such as checkerboards and diamond patterns, a five‑axis laser is typically used to ablate the mould material, essentially burning it away much as a CNC laser‑cutter slices sheet metal into highly accurate pieces. Some textures may reach depths of 0.076 mm or more, which raises another important point: the need for larger draft angles when texturing is applied to the mould’s sidewalls.
As a general rule, we recommend one degree of draft for every 0.013–0.015 mm of texture depth, or roughly 6 to 7 degrees for a typical wood grain or leather‑like finish. For comprehensive guidance on applying draft, refer to our Draft Angle Guidelines .
As always, refer to the DFM (design for manufacturability) analysis that accompanies your online quote. Konlida provides detailed feedback on draft requirements for textured surfaces as part of our standard Design for Manufacturing toolkit .

Don’t Forget the Materials When Considering Mold Texturing
Part materials are another consideration when selecting a surface finish.
We do not recommend textured surfaces when moulding soft polymers such as TPE and liquid silicone rubber (LSR), as these do not pick up the finish very well. Nor does texturing add much cosmetic value with white or transparent materials like polycarbonate, except in those cases where the texture may serve to diffuse light or provide other optical properties. As with all things in manufacturing, exceptions abound, but in most cases, texturing provides the best cosmetic results in darker materials.
For more on material selection and its impact on surface finish, see our Materials Comparison Guide and LSR Moulding services .
Finally, take special care when using fibre‑reinforced and flame‑retardant polymers with textured moulds. These materials tend to generate higher surface resistance during the moulding process, creating drag and turbulence that may be reflected in the part appearance:
- Glass fibres can add a stringy or sparkly finish to a textured part
- Flame retardants might lead to whitish streaks known as splay
That said, these and other concerns are, in most cases, easily addressed with the right mould design. For guidance on avoiding such defects, see our Cosmetic Defects in Injection Moulding guide.
The relationship between gate design and surface finish is also explored in our 3 Gate Considerations to Improve Mouldability guide.
Summary
| Consideration | Recommendation |
|---|---|
| Standard finishes | PM‑F0, PM‑F1, PM‑F2, SPI‑C1, SPI‑B1, SPI‑A2, PM‑T1, PM‑T2 |
| Texturing method | Chemical etching (light texture) or laser ablation (deep/complex texture) |
| Draft for texture | 1° per 0.013–0.015 mm texture depth; 6–7° for wood grain/leather |
| Best materials for texture | Darker, harder materials (PC, ABS, glass‑filled) |
| Avoid texture on | Soft polymers (TPE, LSR) and transparent/white materials (unless optical diffusion is desired) |
| Special considerations | Glass fibres and flame retardants may affect surface appearance |