Identify the best route in your prototyping journey by learning the benefits and limitations of each service line
The term “back to the drawing board” is more than a cliché. Planning for and producing multiple iterations of any product is the most effective way to reduce overall project costs. This is no different when designing a part made from plastic. It also helps avoid long‑term risk and delivers the most optimised part design possible. And no matter how skilled the engineer or powerful the design software they use, that means prototyping.
For example, <span style="background-color: #d4edda;">medical device manufacturers</span> (→ /industries/medical/) must assess the ergonomics and functionality of a surgical instrument before offering it to physicians. Commercial drone designers might make dozens of test flights in wind tunnels to determine their craft’s airworthiness, robot builders want to see how efficiently their latest droid design performs its assigned tasks, and smart automakers perform numerous form, fit, and function checks on countless components with every new model. Each of these activities requires a prototype (or more likely, multiple prototypes).
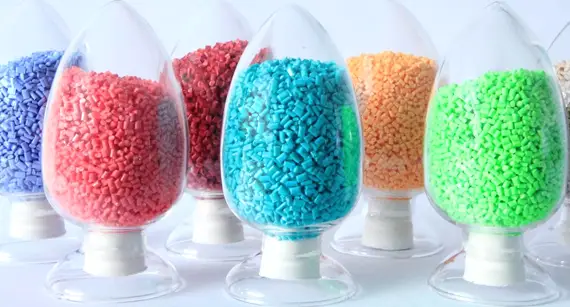
This is especially true for plastic parts, where demand for the winning design hopefully skyrockets and requires subsequent investment in high‑volume production tooling, aka <span style="background-color: #d4edda;">plastic injection moulds</span> (→ /services/injection-molding/). What better way to avoid a costly design mistake than to prototype until it is perfected? On the flip side, manufacturers from all industries often evaluate their newest metal brainchildren by first <span style="background-color: #d4edda;">3D printing</span> (→ /services/3d-printing/), <span style="background-color: #d4edda;">CNC machining</span> (→ /services/cnc-machining/), or moulding plastic versions of them.
Within the product development process, plastic prototypes have different use cases:
- Concept Model: Likely one of the first parts produced. Intended to provide a visual representation. Material strength and surface finish are less of a concern. <span style="background-color: #fff3cd;">Stereolithography (SLA)</span> (→
/services/3d-printing/sla/) and <span style="background-color: #fff3cd;">fused deposition modelling (FDM)</span> are typical methods. - Functional Prototype: Allows testing of form and fit. Accurate representation of final material properties is valuable. <span style="background-color: #d4edda;">CNC machining</span> or <span style="background-color: #fff3cd;">selective laser sintering (SLS) / Multi Jet Fusion (MJF)</span> (→
/services/3d-printing/sls/) are often used.
What are the Manufacturing Options for Plastic Prototyping?
Several options are available for prototyping plastic parts. Each provides distinct advantages and limitations.
- <span style="background-color: #d4edda;">3D Printing</span> (→
/services/3d-printing/): Cost‑effective for prototypes, quick lead times, fewer design constraints. - <span style="background-color: #d4edda;">CNC Machining</span> (→
/services/cnc-machining/): Fast turnaround, same material options as production parts. Less design freedom than 3D printing, may be more costly. - <span style="background-color: #fff3cd;">Injection Moulding</span> (→
/services/injection-molding/): Best for higher quantities (100+ parts) using quick‑turn aluminium tooling.
Part size, surface finish quality, and feature resolution should also be considered.
Whatever technology you choose, ensuring that your part is manufacturable via the intended production method is crucial. Do not 3D‑print prototypes only to discover later that the parts cannot be injection moulded.
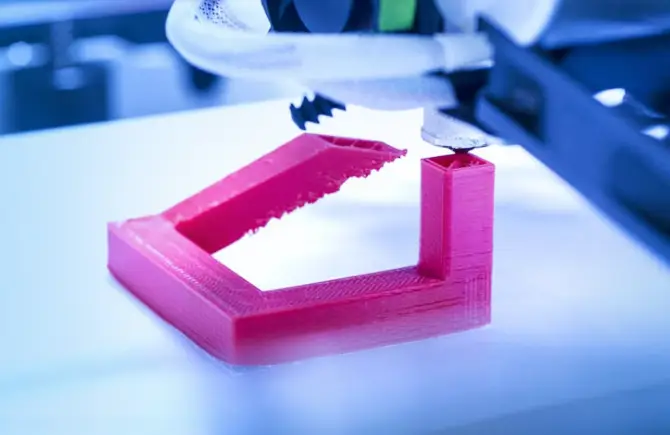
3D Printing for Plastic Prototyping
3D printing launched the rapid prototyping industry more than three decades ago. Today, manufacturers can choose from <span style="background-color: #d4edda;">SLA, SLS, PolyJet, MJF, and Carbon DLS‑equivalent technologies</span> (→ /services/3d-printing/).
Benefits of 3D Printing
- More cost‑effective: No fixturing or cutting tools; just raw material, machine time, and post‑processing.
- Fast lead times and quick iterations: No tooling or traditional setups. Many printers can produce multiple iterations in the same build.
- Fewer design constraints: Complex assemblies can be printed as one piece, reducing part count and simplifying the supply chain. Ensure the design can be injection moulded if that is the end goal.
Challenges of 3D Printing
- Mechanical properties: Resins and powders are “like” materials – they approximate moulded or machined counterparts but are not direct replacements.
- Surface finish: Layer‑by‑layer build causes some “stair‑stepping”. Vapour polishing or abrasives add time and cost.
- Limited colour options: Typically white, black, grey, or translucent. Dyeing or painting is an additional post‑processing step.
<span style="background-color: #fff3cd;">Learn more about our 3D printing materials and processes</span> (→ /materials/plastics/).
CNC Machining for Plastic Prototyping
At Konlida Precision Technology, we have developed standardised tooling sets that allow us to deliver custom‑machined parts in as fast as one business day. Lead times are similar to 3D printing, and pricing is competitive.
Benefits of CNC Machining
- End‑use materials: Prototype using actual production materials – critical for functional testing and validation.
- Production quantities: As quantities increase (teens and higher), machining often becomes more cost‑effective than 3D printing.
- Fast lead times: As fast as 3D printing, sometimes faster.
Challenges of CNC Machining
- Part geometry: Deep pockets, thin walls, extreme length‑to‑diameter ratios, and other features that are easy for 3D printing can be difficult or impossible to machine.
- Multi‑part assemblies: Machined parts often require bolting or welding together, adding cost. If a design can be 3D‑printed as a single assembly, that may be advantageous – but ensure it can be economically produced at higher volumes.
<span style=”background-color: #d4edda;”>Explore our CNC machining capabilities</span> (→ /services/cnc-machining/).
Injection Moulding for Plastic Prototyping
Historically, “plastic injection mould” and “prototyping” have been exclusive. High‑volume production tooling is expensive and takes months. Konlida changed this with <span style=”background-color: #d4edda;”>quick‑turn aluminium tooling</span> (→ /services/injection-molding/#prototyping), which can mould hundreds of prototype parts and is typically delivered within a week.
If you need 100 or more injection moulded prototypes for functional testing, quick‑turn tools give you parts made of real material, fast, with tolerances and surface finishes nearly identical to production tooling. They can also serve as bridge tooling until the production mould is complete, or for pilot runs.
The caveat: it takes time to design and machine the mould. Still much faster and less costly than “hard tool” alternatives, but may be overkill if 3D printing or machining solves the immediate problem.
Final Thoughts
Choosing the right prototyping method depends on your quantity, material requirements, geometry complexity, and timeline. Konlida’s application engineering team can help you evaluate the options.